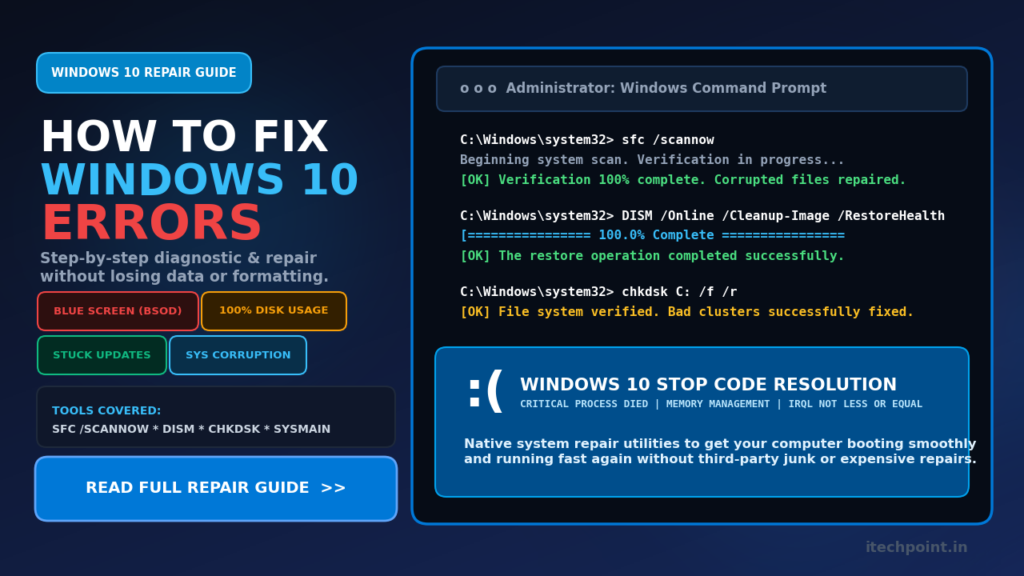
Nothing is more frustrating than having your Windows 10 PC crash at the worst moment. It could be that your taskbar has frozen halfway through an important project or your PC displayed a Blue Screen of Death right before you saved your work.
The Windows 10 error messages are often confusing for many users. However, most of these problems have a solution. Typically, these errors appear when Windows 10 system files get corrupted during the updating process, the background processes eat 100 percent of the disk, or the computer’s device drivers are not updated.
Before you give up and take your PC to a repair shop or decide to re-install the system, try the step by step instructions below to fix the most common Windows 10 errors:
1. Fix Corrupted System Files With SFC and DISM
If your Windows 10 system files have become corrupt, you might experience random crashes and freezes. One easy way to repair system files is by using the built-in Windows command-line tools.
The System File Checker (SFC) is a Windows utility that scans your system for corrupt files and attempts to repair them automatically. To launch the System File Checker tool, do the following:
Click on the Windows key and type cmd. Right-click on Command Prompt and select Run as Administrator.
In the command window, type the following command and press Enter:
sfc /scannow
The scanning process will begin, and it should reach 100 percent. When it completes, it will inform you if it found and repaired any system files. If it was successful, restart your PC.
Should the System File Checker (SFC) utility be unable to repair Windows system files, the next logical step is to run the Deployment Image Servicing and Management (DISM) tool. This utility is also a command-line system repair tool that restores system files from a Windows update server. In the same Command Prompt window, type the following command and press Enter:
DISM /Online /Cleanup-Image /RestoreHealth
When the DISM process is done, reboot your computer to apply the changes.
2. Fix 100 Percent Disk Usage Issues
If your laptop fan is constantly running, and Task Manager shows that your hard disk or SSD is maxed out at 100 percent with no apparent reason, you are most likely experiencing a Windows 10 background process issue. The two common background processes that cause 100 percent disk utilization are Windows Search and SysMain.
To turn off Windows Search and SysMain, first, press the Windows Key + R combination and then type services.msc in the Run dialog box. When the Services window appears, scroll down the list until you see SysMain. Right-click on it, select Properties, change the Startup Type to Disabled, and click Stop. Repeat the same procedure for the Windows Search service if your hard disk is constantly at 100 percent and you have an older mechanical HDD.
Another common reason for 100 percent disk usage is excessive junk files that fill up your PC’s memory. To clear up some space, open the Run dialog box by pressing the Windows Key + R combination, typing %temp%, and clicking OK. When the temporary folder opens, delete all the files that you see there. To remove additional junk files, repeat the same procedure and type %temp% in the Run dialog box.
3. Fix Windows Update Problems in Windows 10
If you are encountering Windows Update errors or notice that the updates are stalled at 0 percent, it is most likely due to a corrupted update cache. The easiest way to fix this problem is to reset the update cache by stopping the background update processes.
First, open Command Prompt as an administrator, and type the following commands one after the other:
net stop wuauserv
net stop bits
Now, go to This PC > C:\Windows\SoftwareDistribution\Download. When you arrive at the destination, select all the files listed there and press Shift + Delete to permanently remove them.
Windows 11 में C Drive की Space कैसे खाली करें? आसान तरीका :- https://itechpoint.in/windows-11-c-drive-space-kaise-khali-kare/
The next step is to restart the background update processes in Windows. Go back to your Command Prompt window and type the following commands:
net start wuauserv
net start bits
Now, go to Settings > Update and Security and click on Check for Updates to begin downloading the updates again.
4. Fix Blue Screen and Driver Problems
If you see a blue screen error on your PC, it means that Windows encountered a critical system error and had to restart to avoid crashing. A Blue Screen of Death (BSOD) error usually has three main reasons: a faulty or corrupt driver, memory management errors, or a defective PC hardware component.
Most blue screen errors in Windows 10 are usually caused by an incompatible driver that requires an update. To update your drivers, click on the Start menu button with your mouse right-clicked and select Device Manager. In the Device Manager window, expand the Display Adapters group. Next, right-click on your graphics card (NVIDIA, AMD, or Intel), and select Update Driver. The following window will ask you to select where to search for the new drivers. Choose the option to automatically search for updated drivers.
The easiest way to identify faulty drivers is to look for a yellow exclamation mark icon next to the device name in the Device Manager. Faulty drivers that need to be updated will have a yellow exclamation mark against their names.
Next, let’s take a look at how you can resolve Windows 10 memory errors. Memory problems are commonly experienced when a PC runs numerous applications simultaneously. The first step in fixing memory errors is to run the Windows Memory Diagnostic tool. To do that, press the Windows Key + R keyboard combination, type mdsched.exe in the Run dialog box, and click OK. The Memory Diagnostic test window will appear on your screen. Now, click Restart now and check for problems.
5. Fix Windows 10 Disk Issues
Systematically malfunctioning hard drives and SSDs can lead to Windows 10 errors that involve system freezes and random warning messages about bad sectors. CHKDSK is a command-line utility that checks your system drive for bad sectors and recovers readable information from them. To execute the bad-sector-recovery procedure, follow the steps below:
First, open the Command Prompt window as an administrator. Next, type the following command:
chkdsk C: /f /r
After typing this command, you will be asked to schedule the volume check the next time you restart your computer. Type Y and press Enter to continue. Now, restart your computer, and Windows will perform a hard drive scan and recover the readable data. This procedure will run automatically the next time you power on your PC.
Summary Conclusion
Make sure that you always have at least 20 GB of free space on your system drive so that Windows 10 always has enough memory to perform background processes. If the error persists, try removing all external USB devices and peripherals from your PC to determine whether they are the source of the problem.